

温馨提示:本文最后更新于
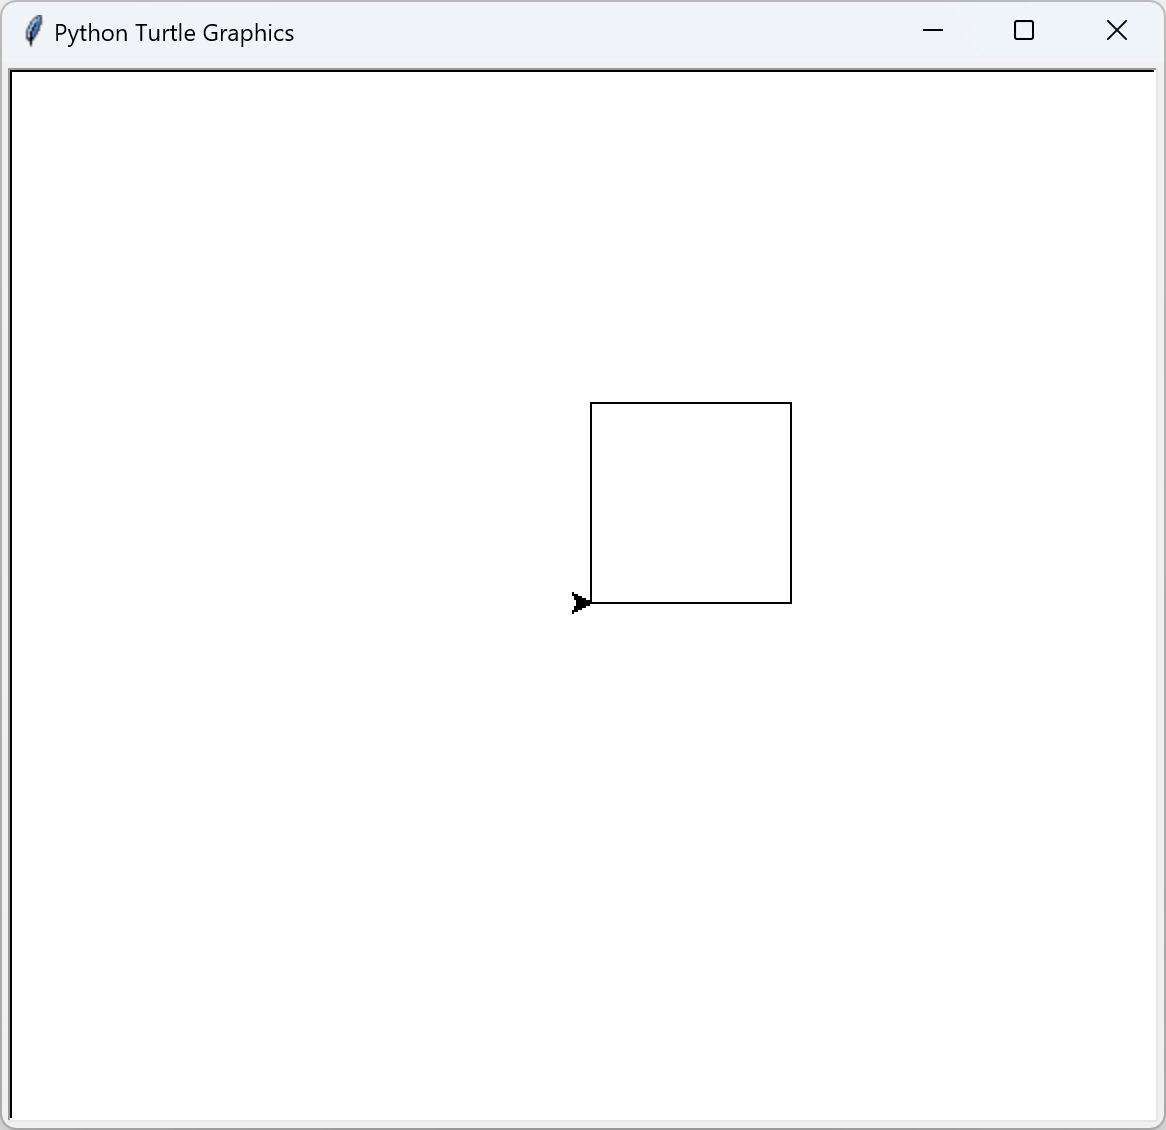
2024-12-23 16:07:00,某些文章具有时效性,若有错误或已失效,请在下方留言。绘制正方形
利用turtle进行正方形的绘制
# 导入模块
import turtle

for i in range(4):
    turtle.forward(100)
    turtle.left(90)

my_screen = turtle.Screen()
# 点击屏幕推出GUI界面
my_screen.exitonclick()
绘制效果,如下所示
导入模块
基本导入
基本导入的格式import 模块名
# 关键字 模块名
import turtle

tim = turtle.Turtle()
from … import …
导入模块的另一种格式
# 关键字  模块名  关键字 模块内容
from turtle import Turtle

# 前边不会有turtle.
tim = Turtle()
模块别名
导入模块时设置别名
# 关键字  模块名  关键字 模块别名
import turtle as t

tim = t.Turtle()
安装模块
1.使用pip命令安装
pip install module
2.使用 PyCharm 智能 IDE 安装
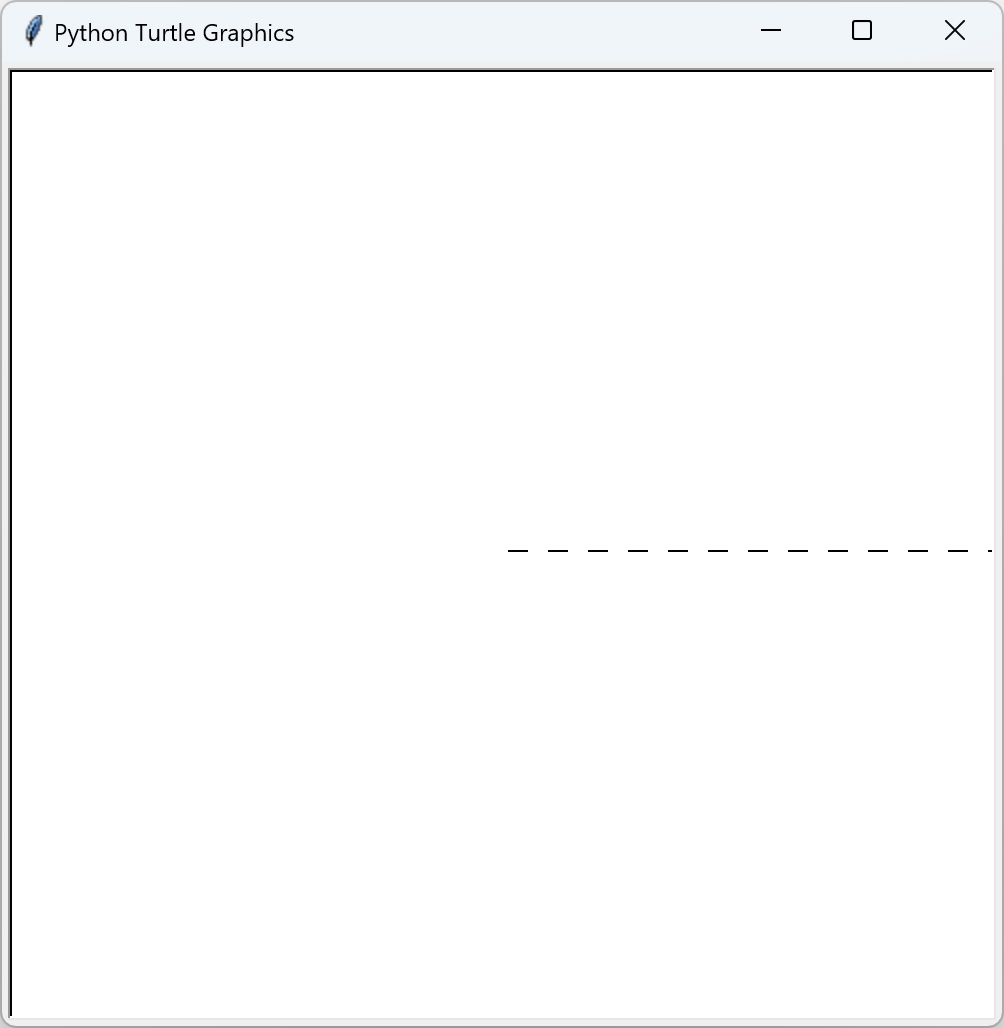
画一条蚂蚁线
import turtle as t

for _ in range(15):
    t.forward(10)
    t.penup()
    t.forward(10)
    t.pendown()

my_screen = t.Screen()
my_screen.exitonclick()
绘制效果,如下所示
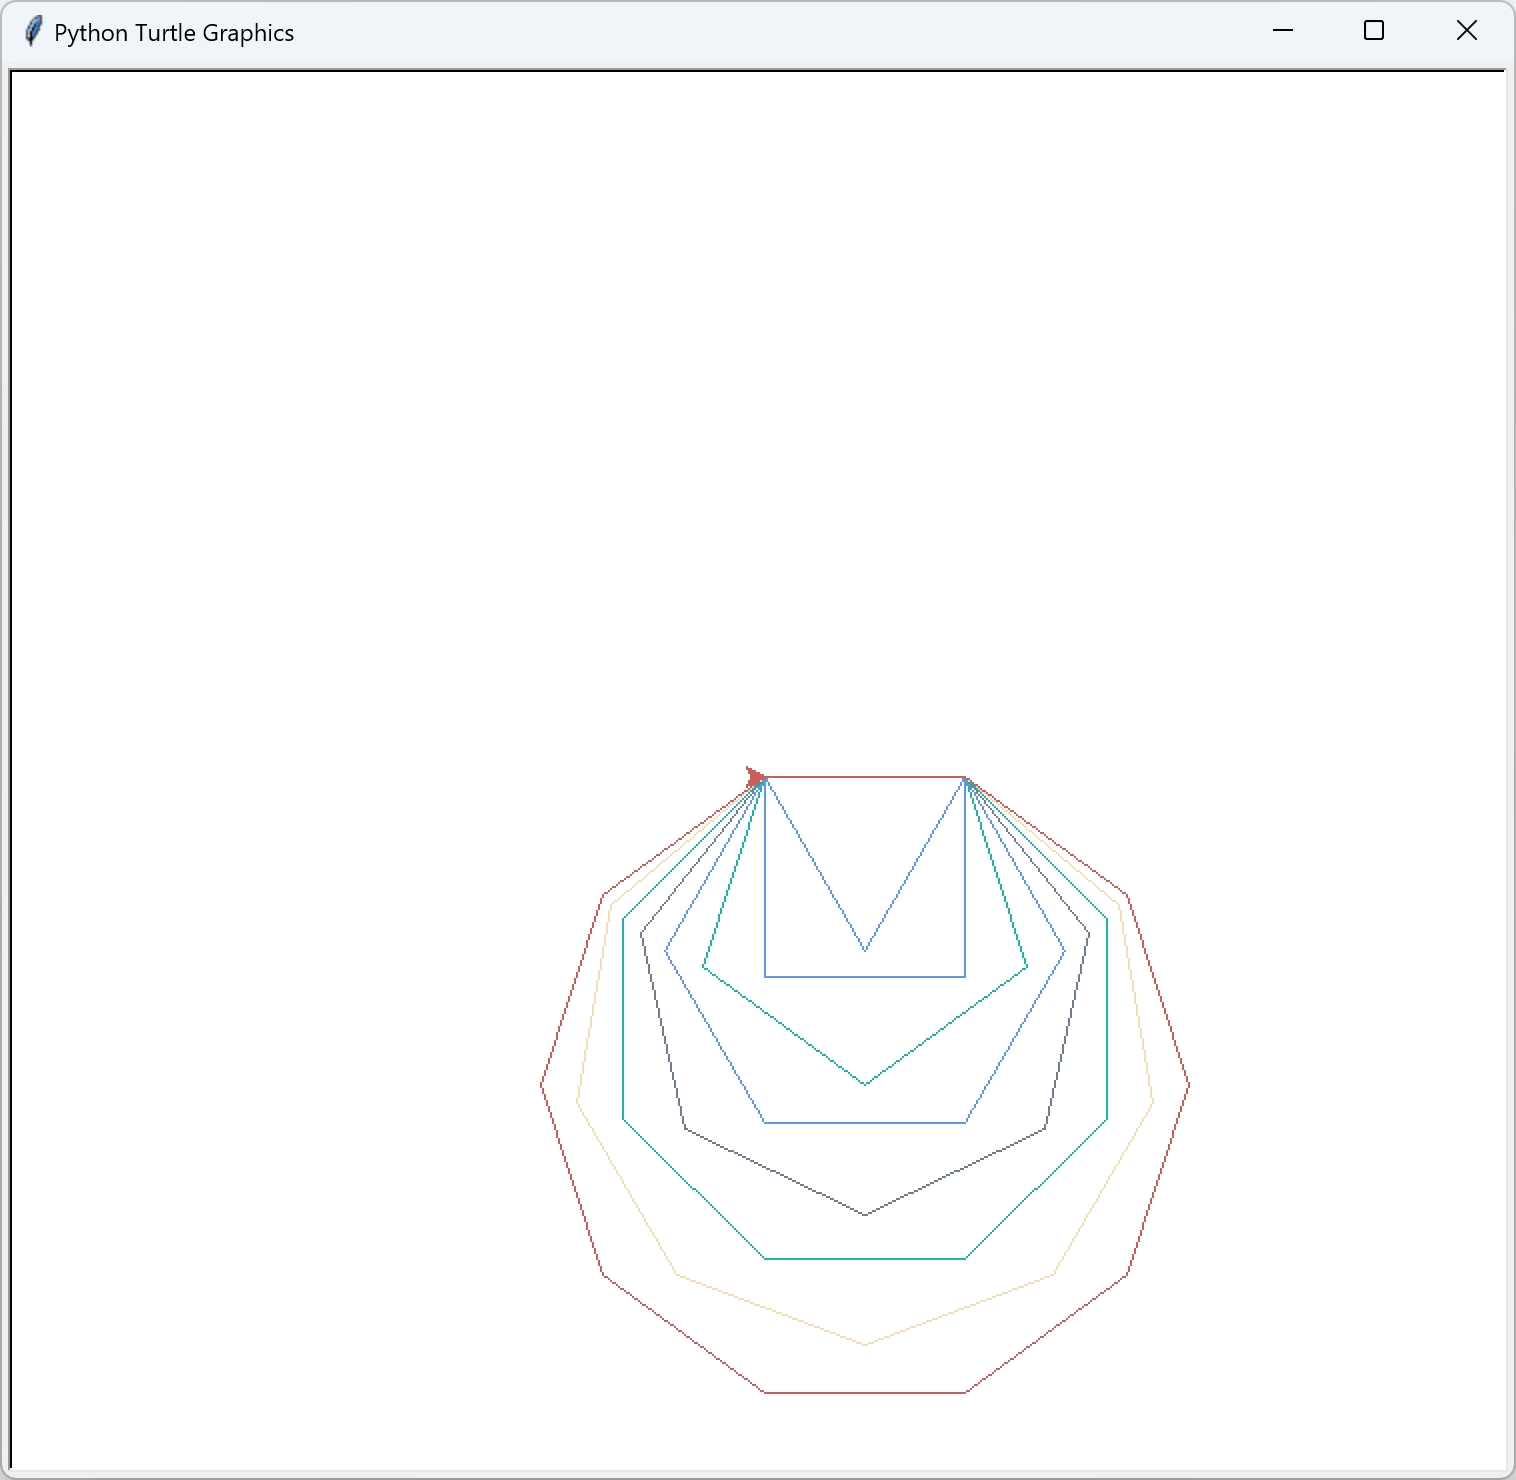
绘制不同的形状
import turtle as t
import random

colors = ["CornflowerBlue", "DarkOrchid", "IndianRed", "DeepSkyBlue", "LightSeaGreen", "wheat", "SlateGray", "SeaGreen"]
tim = t.Turtle()

def draw_shape(num_side):
    """绘制正多边形"""
    angle = 360 / num_side
    for i in range(num_side):
        tim.forward(100)
        tim.right(angle)

# 绘制3~10边形
for shape_side_n in range(3, 11):
    tim.color(random.choice(colors))
    draw_shape(shape_side_n)

# 点击屏幕时推出
my_screen = t.Screen()
my_screen.exitonclick()
绘制效果,如下所示
元组
Python 的元组(item1, item2, …),元组使用的是(),列表使用的是[]。元组中的值是无法改变的。
my_tuple = (1, 3, 8)
print(my_tuple[2]) # 8
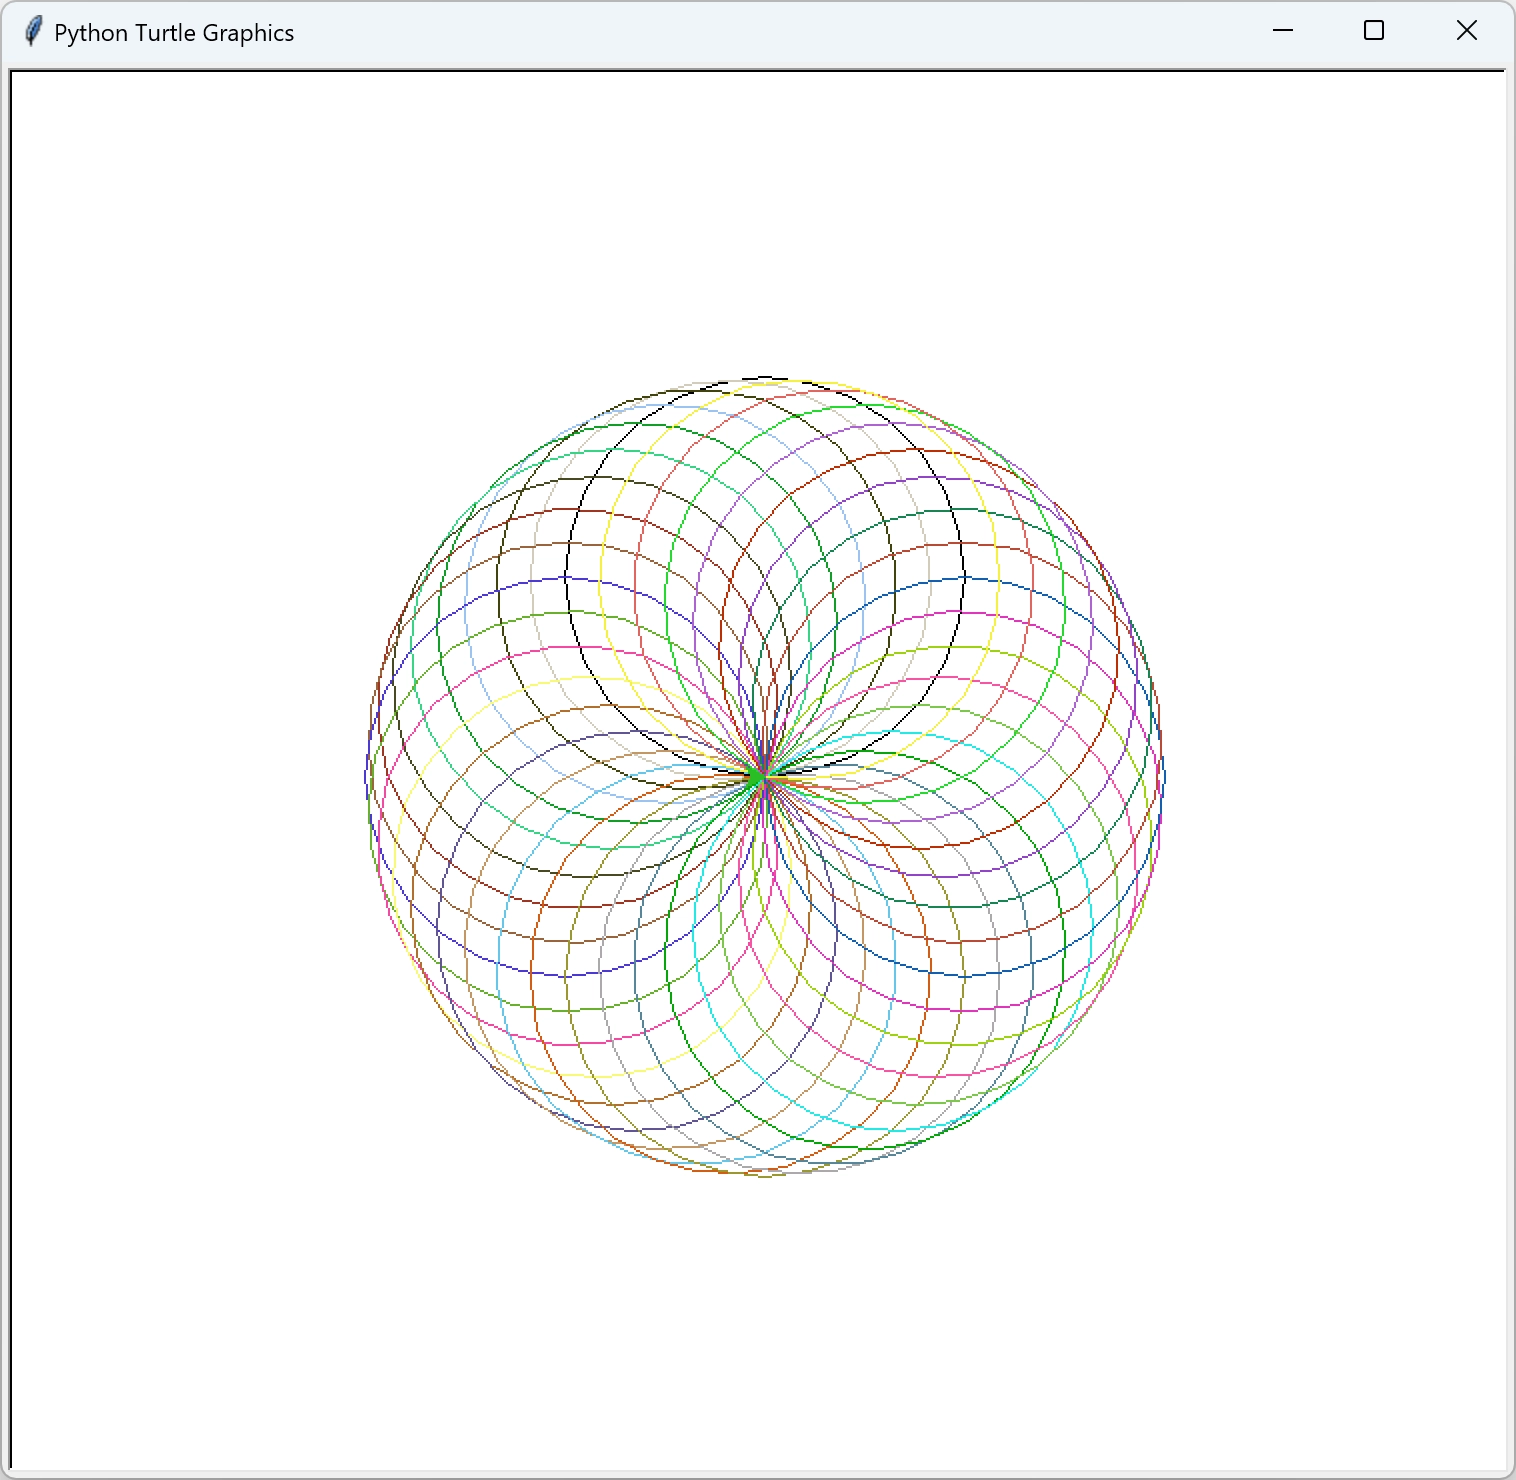
绘制万花尺
万花尺的绘制使用到元组的基础知识,代码实现如下
import turtle as t
import random

tim = t.Turtle()
# 设置颜色模式为RGB
t.colormode(255)
# 设置绘制速度为最快
tim.speed("fastest")

def random_color():
    """随机颜色方法,返回元组(r,g,b)"""
    r = random.randint(0, 255)
    g = random.randint(0, 255)
    b = random.randint(0, 255)
    # 元组的使用
    color = (r, g, b)
    return color

def draw_spirograph(head_gap):
    """绘制 spirograph"""
    for _ in range(int(360 / head_gap)):
        tim.circle(100)
        tim.color(random_color())
        tim.setheading(tim.heading() + head_gap)

draw_spirograph(10)

# 点击屏幕时推出
my_screen = t.Screen()
my_screen.exitonclick()
绘制的效果,如下所示
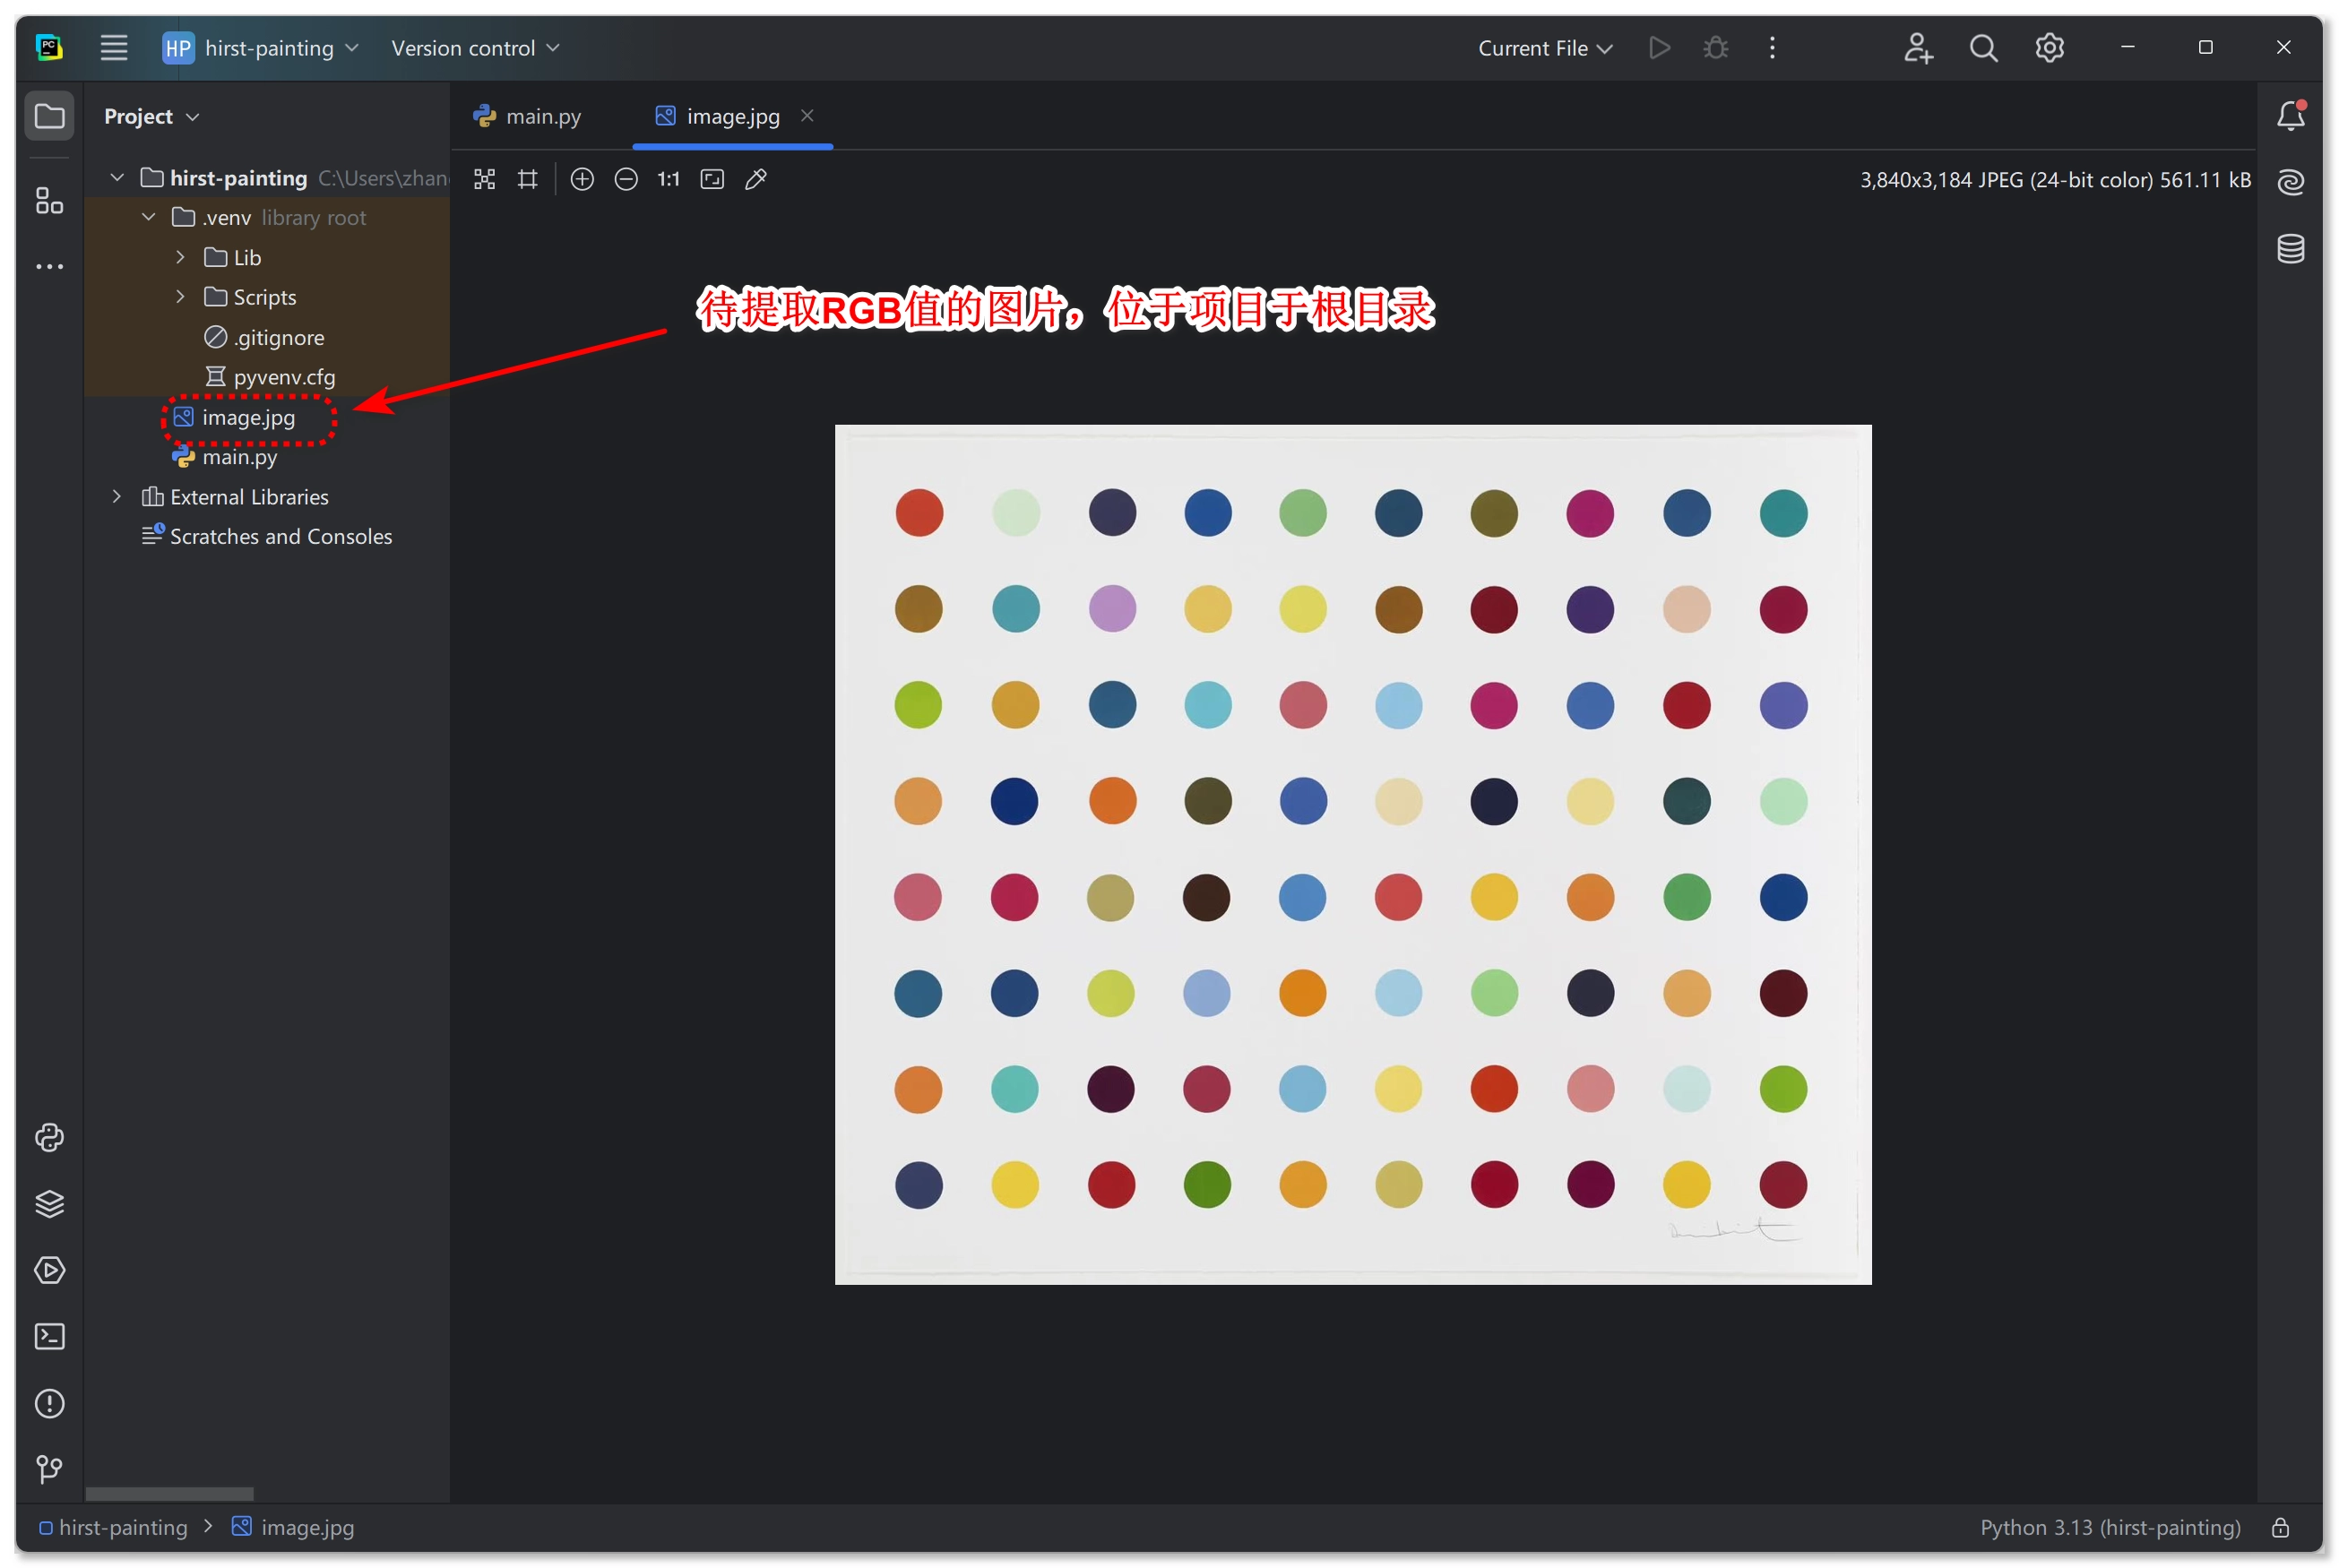
图片提取 RGB 值
图片 RGB 值的提取使用 colorgram.py 包实现,具体参考https://pypi.org/project/colorgram.py/
项目的组织结构,如下图所示
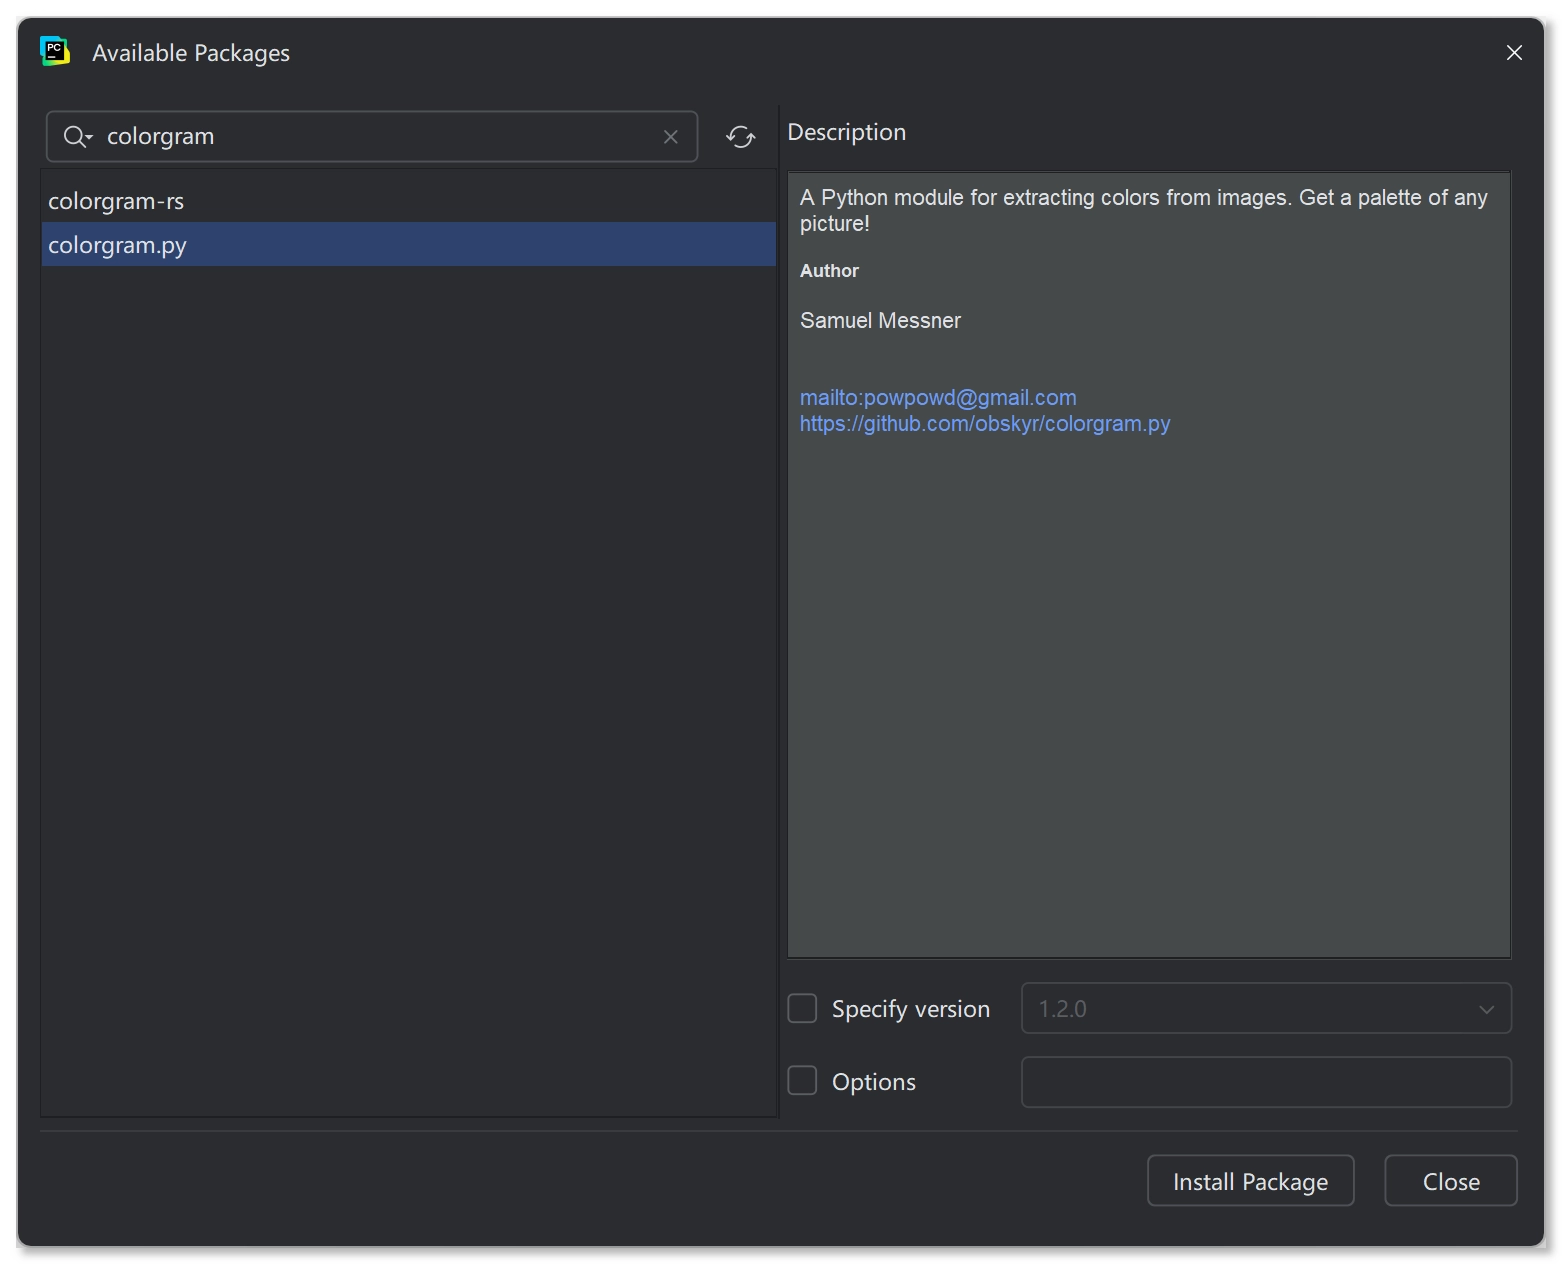
在设置中安装所需的包,如下所示
import colorgram

def extract_image_rgb_color(image_name, color_num):
    """提取图片中几种颜色的 RGB 值"""
    colors = colorgram.extract(image_name, color_num)
    color_list = []
    for color in colors:
        rgb = color.rgb
        r, g, b = rgb
        color_list.append((r, g, b))
    print(color_list)

extract_image_rgb_color('image.jpg', 8)
输出结果,如下所示
[(233, 233, 232), (231, 233, 237), (236, 231, 233), (223, 232, 225), (208, 161, 82), (54, 89, 131), (145, 91, 40), (140, 26, 48)]
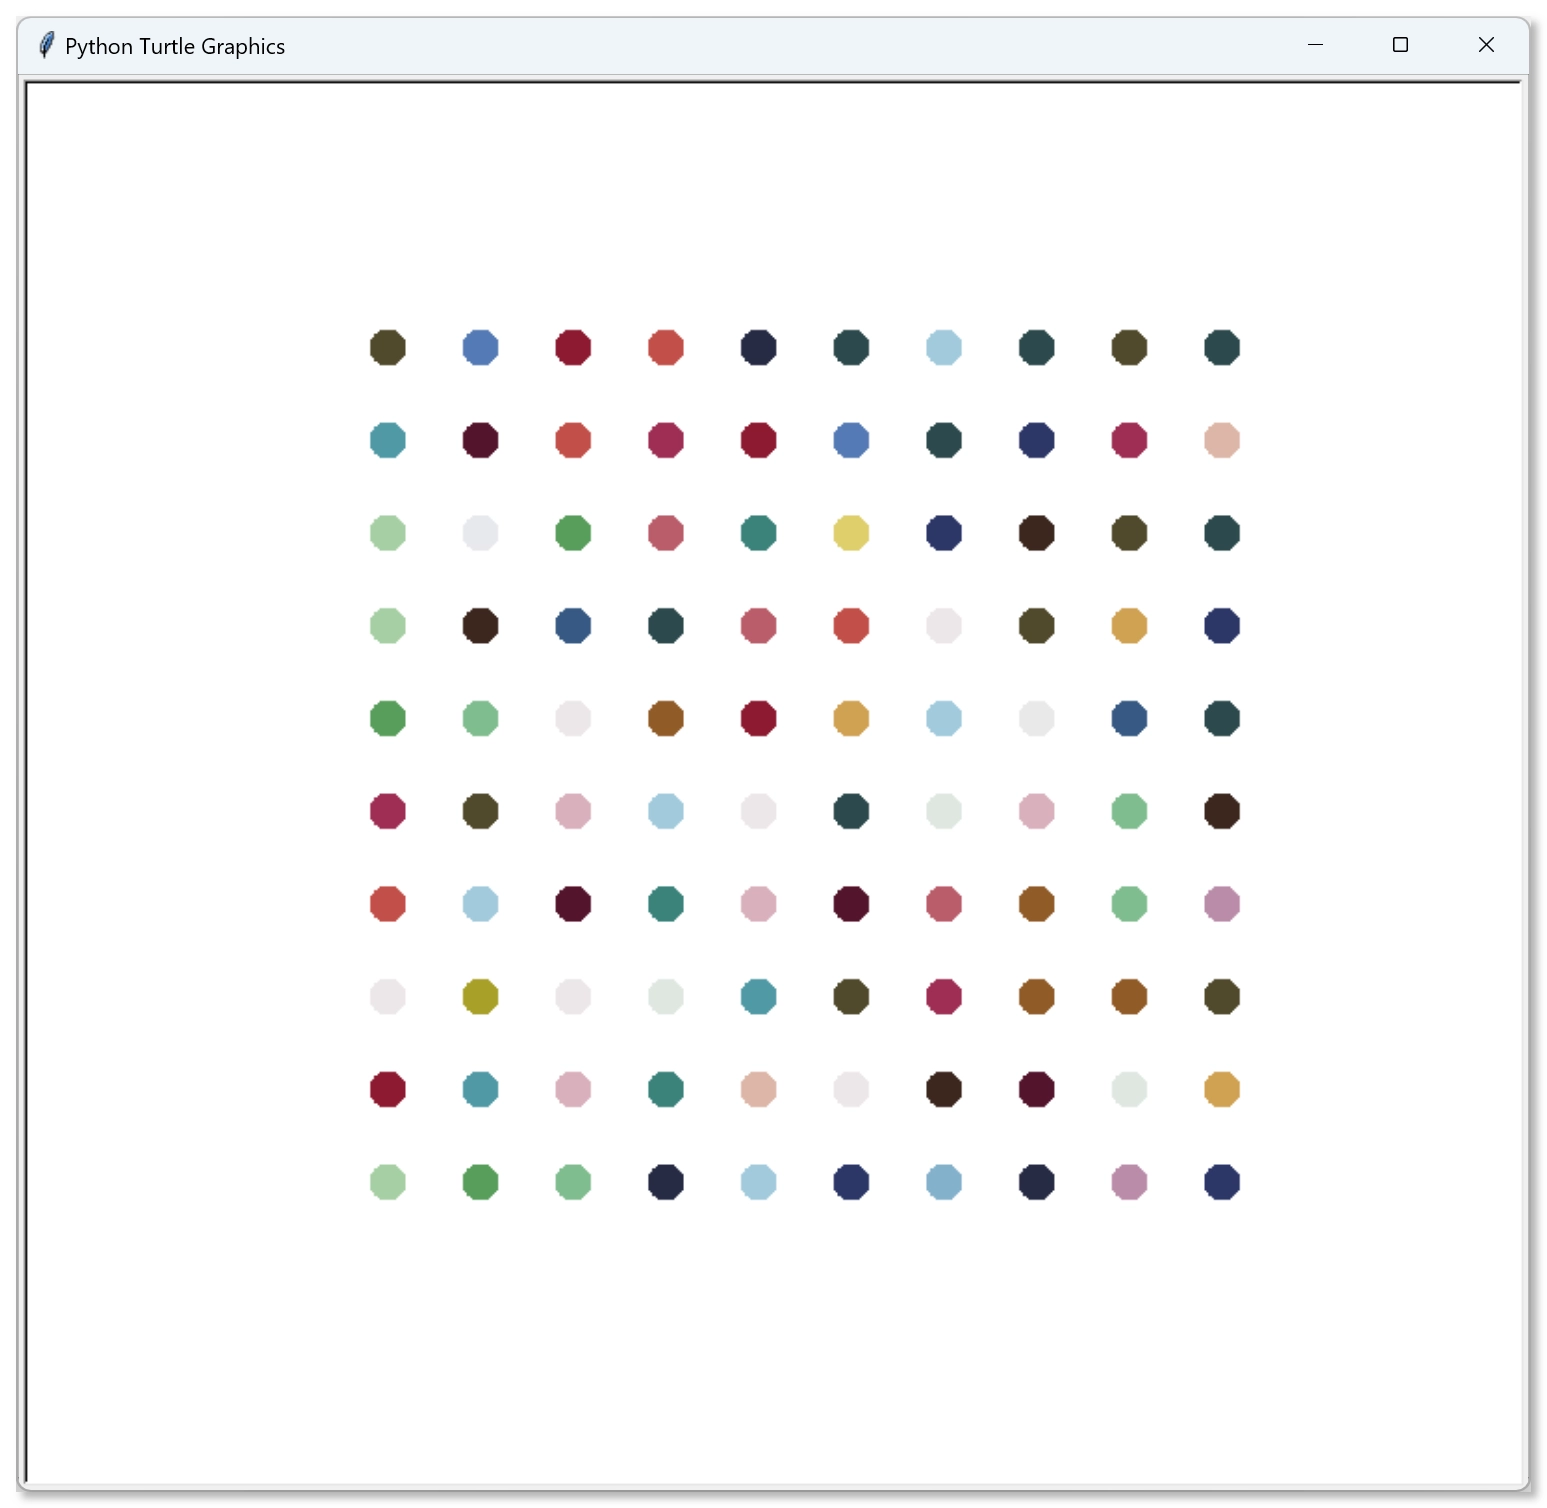
绘制圆点
import turtle as t
import random

tim = t.Turtle()
# 设置绘制速度
tim.speed("fastest")
# 设置RGB颜色模式
t.colormode(255)
# 不显示路径线
tim.penup()
# 不显示箭头
tim.hideturtle()

color_list = [(233, 233, 232), (231, 233, 237), (236, 231, 233), (223, 232, 225), (208, 161, 82), (54, 89, 131), (145, 91, 40), (140, 26, 48), (222, 206, 108), (132, 177, 203), (45, 55, 104), (158, 46, 83), (168, 160, 39), (128, 189, 143), (83, 20, 44), (38, 42, 67), (186, 93, 106), (186, 140, 170), (84, 122, 181), (59, 39, 31), (79, 153, 165), (88, 157, 91), (194, 79, 72), (161, 202, 220), (45, 74, 77), (80, 73, 44), (58, 130, 123), (217, 176, 187), (166, 207, 164), (220, 182, 167)]
# 调整起点到底部
tim.setheading(225)
tim.forward(300)
tim.setheading(0)
# 设置打印点的数目
number_of_dots = 100

for dot_count in range(1, number_of_dots + 1):
    tim.dot(20, random.choice(color_list))
    tim.forward(50)

    # 每10个一行
    if dot_count % 10 == 0:
        tim.setheading(90)
        tim.forward(50)
        tim.setheading(180)
        tim.forward(500)
        tim.setheading(0)


screen = t.Screen()
screen.exitonclick()
绘制效果,如下所示
THE END


暂无评论内容